- Promotions
How to make a paper cylinder?
Making a paper cylinder is a fun and educational activity that can involve children and adults in the process of creating handmade items. This not only stimulates creativity, but also develops fine motor skills and spatial thinking.
In this article from our blog, we will look at how you can make a paper cylinder by following the step-by-step instructions.
Table of Contents
1. Basic materials and tools
2. Steps for making a paper cylinder
Basic materials and tools
To get started, you'll need the following basic craft materials and tools that are also used in children's art:
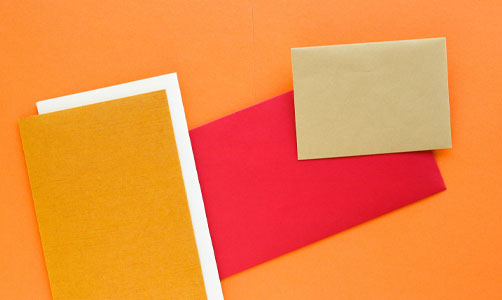
- paper - choose a suitable type according to the needs of the project, such as cardboard, plain and colored sheets, etc. May vary in paper thickness and flexibility;
- glue - it is necessary to fix the shape of the cylinder;
- scissors – to cut the paper to the desired dimensions. For thicker materials, a pattern knife can be used;
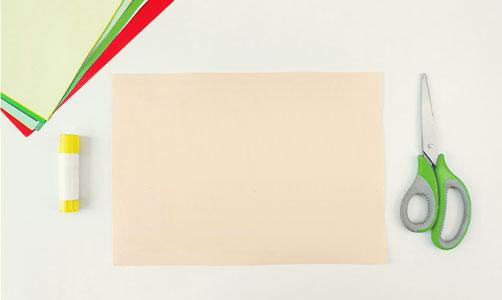
- ruler and marker – for measuring and marking points for cutting and folding.
Steps for making a paper cylinder
To make a cylinder, you must follow the following few steps. In this way, you will be sure that the final product is stable and aesthetically appealing:
- Measure and cut the paper – cut the sheet into a rectangle to the desired size. The dimensions depend on how big you want the cylinder to be;
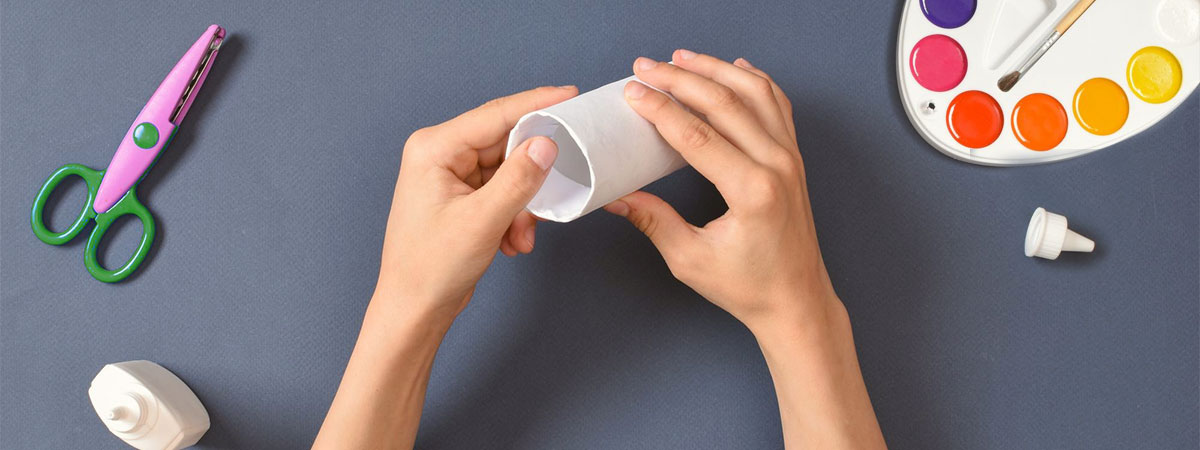
- Forming the paper cylinder – twist the paper lengthwise to form a cylindrical shape. Make sure the edges match evenly for better stability.
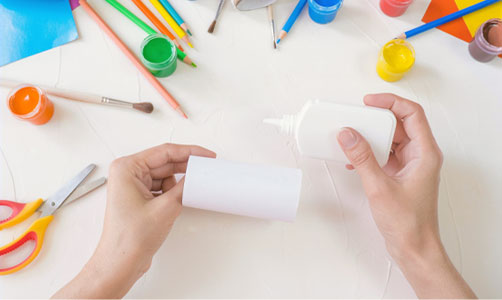
- Secure the shape - use glue to secure the long edges of the paper. If necessary, add a little glue on the inner seams for extra strength.
- Adding a base (optional) – if you are going to make a cylinder with a bottom, then cut a circular base from paper to fit the diameter of the cylinder and glue it carefully.
Making a paper cylinder can serve as a wonderful opportunity to experiment with different decorative and functional designs. Use colored or patterned paper, add polish, stickers, or decorative ribbons to personalize your creation. This creative project not only develops creativity and motor skills, but also allows the creation of unique objects that can be used for home decoration or as gifts.
Plus, you get the valuable opportunity to spend quality time with your family while learning and creating something worthwhile.